
Our journey to make discs from 100% recycled plastic began in a garage, where our first homemade injection machine was born.

This DIY machine, powered by body weight, was our entry into the world of disc manufacturing. Once operational, it took 30 minutes to produce every. single. disc.
From day one to the day we got our 225-ton industrial injection machine, we’ve been on a never-ending adventure to learn how to actually make a disc.
And thanks to some help from others in the industry, reading through five (very boring) injection molding textbooks, and four years of good ol’ trial and error — we now know how to do it.
So with that — here’s the step-by-step guide we wish existed when we started:
How a disc golf disc is made:
Step 1: Concept and Design

Most discs start with a blank computer screen (or a napkin) and an idea.
From an overstable approach disc to a flippy distance driver — the possibilities in flight are almost endless. And from a “normal” feeling disc to a funky, innovative disc with dimples — the possibilities in feel are numerous.
The actual disc is designed in 3D using CAD software. Here the goal is to get as close to the intended feel and flight desired, which ultimately may be tweaked down the line.
The 3D model of the disc is then converted into a full 3D mold design ready to be machined… more on that later.
Fun Fact: Disc design used to be mostly trial and error. Now, some manufacturers (including us) are using “computational fluid dynamics” to run potential disc designs through millions of computer-generated flight simulations to test their shape!
Step 2: Material Selection
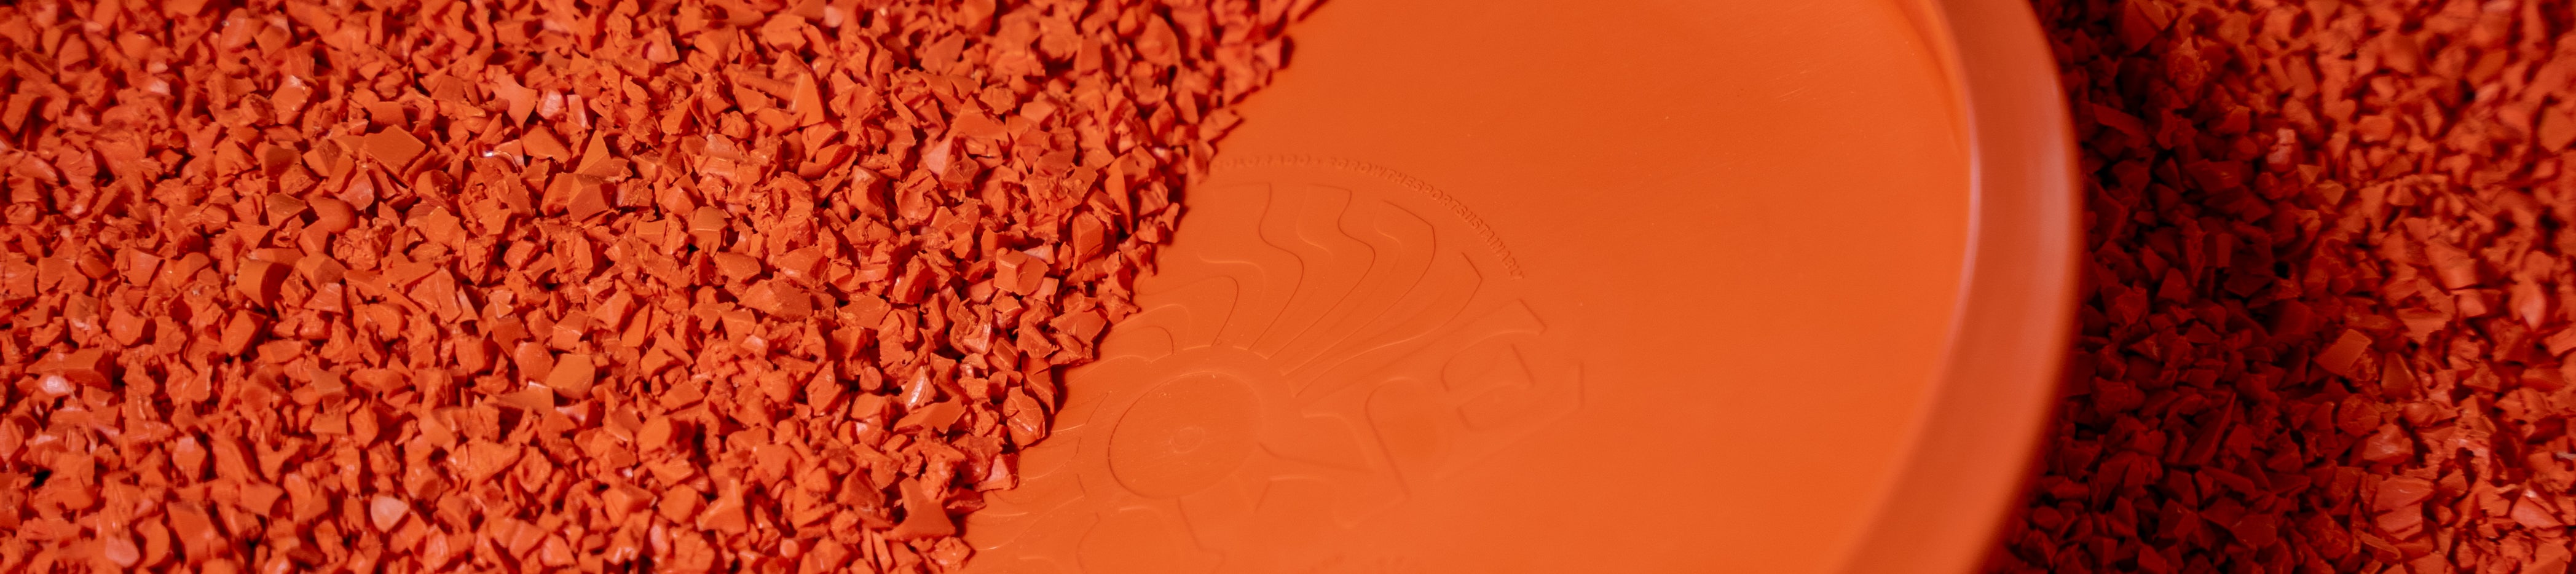
For us at Trash Panda, that means sourcing the most sustainable materials we can for every disc we make. AKA 100% recycled plastic.
In disc golf, there are 2 main categories of plastic — “premium” (more durable) and “baseline” (more grippy and typically used for putting).
Almost every premium disc on the market is made with TPU (thermoplastic polyurethane). For us, it’s 100% recycled TPU.
For baseline discs, the actual plastic types vary quite a bit from one manufacturer to another. We use a blend of 100% recycled TPE (thermoplastic elastomer) and natural minerals (like calcium carbonate).
For this blog, we’ll be focusing on TPU, which is the harder plastic to injection mold.
Fun Fact: Calcium Carbonate is the single ingredient in TUMS 👀
Step 3: Drying the Plastic
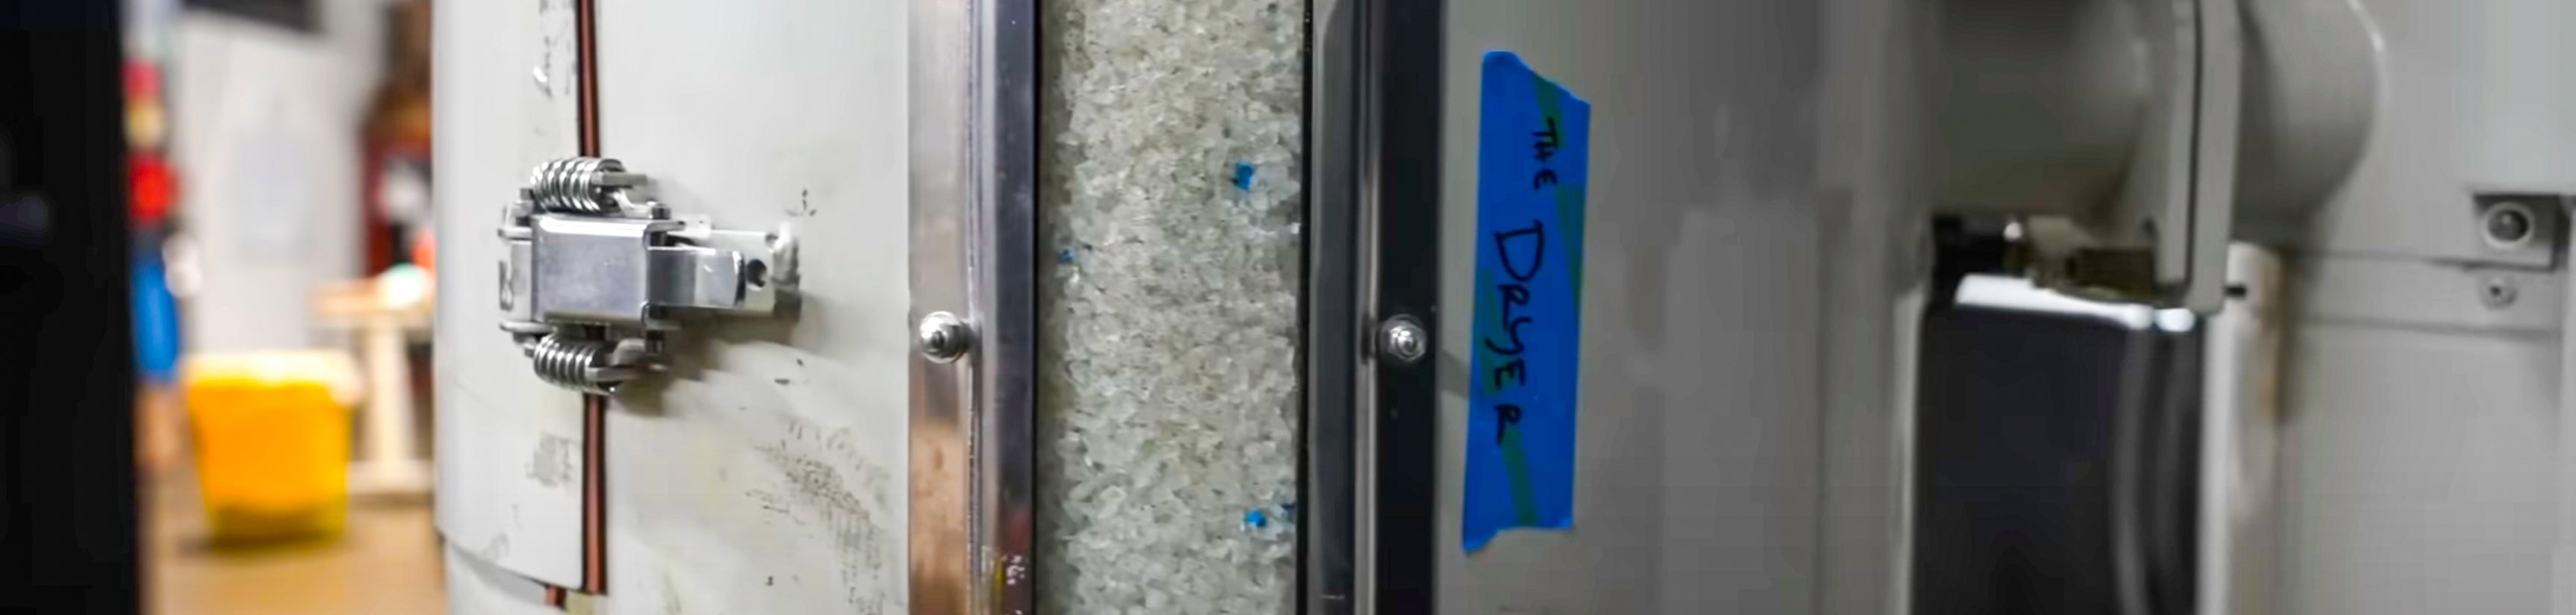
TPU is “hygroscopic” which means it absorbs moisture from the air.
So before we can make a disc, it must be thoroughly dried as any moisture in the plastic can cause major issues during the molding process.
Due to regrind pellets being varying sizes, we dry all of our material for 4 hours at 200 degrees Fahrenheit.
Fun Fact: initially, we used a toaster oven Jesse got on OfferUp for drying, but we now use an industrial-grade dryer.
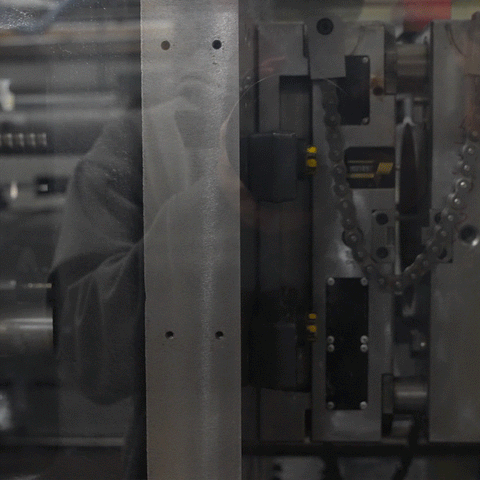
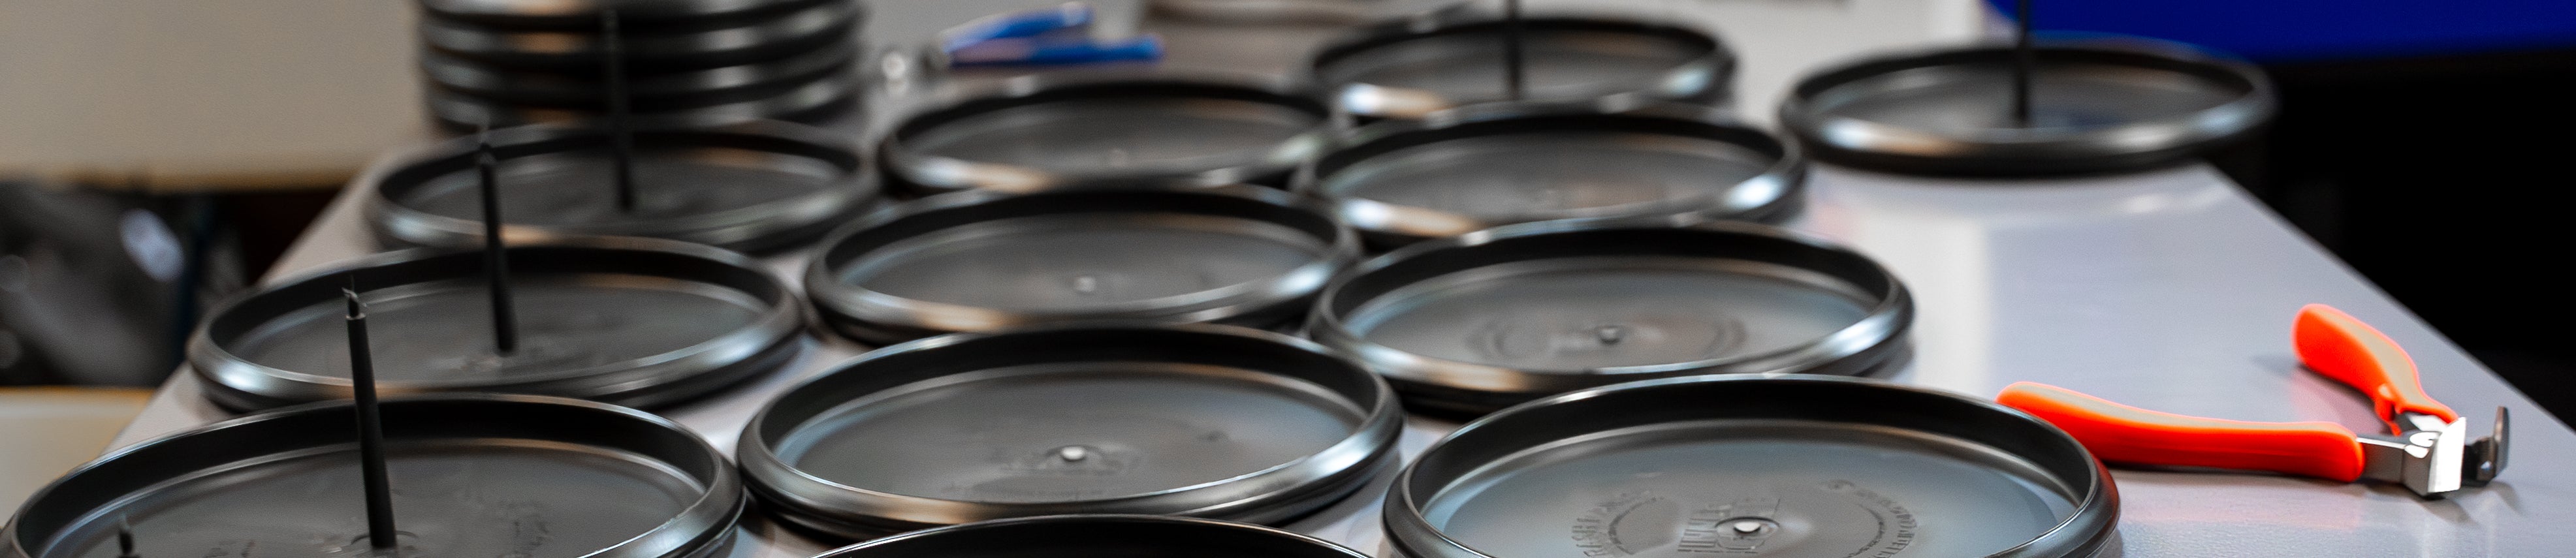
Step 4: Preparing the Mold

The disc’s shape and features are determined by the mold we mentioned above. In our case, it’s a three-piece design comprising the core, cavity, and stripper plate.
The mold is mounted on the injection machine, and ready to be filled with plastic.
More on how a mold works here.
Fun Fact: changing from one mold to another is a loooong, tedious process than can take upwards of four hours (on average).
Step 5: The Injection Process

There are many ways to make a disc (compression molding, 3d printing, and more) but we’ll focus on the method used to make 99% of them (including ours): injection molding.
Injection molding machines consist of two main components: the injection unit and the clamping unit. The injection unit primarily handles the plastic, while the clamping unit manages the mold.
The machine includes various other parts like the nozzle, band heaters, barrel, screw, and plattens, each playing a vital role in the disc-making process.
In the injection molding machine, the plastic is fed into the “hopper” where it is melted and then injected into the mold.
Fun Fact: the way plastic melts is through a fascinating combination of heater bands (kinda obvious) and friction from the screw inside the barrel.
Step 6: Removing the Disc from the Mold
 Once the molten plastic has cooled in the mold, the disc is ready to be removed. The stripper plate plays a key role here, helping to dislodge the disc without damaging it.
Fun Fact: there are more ways to “eject” a disc from a mold (air, ejector pins, etc.) and varying witness marks on discs can be a tell-tale sign of what each manufacturer does.
Step 7: Post-Processing and Quality Check
The newly formed disc is then cooled on a table, any excess material (like the sprue) is trimmed, and the disc is inspected for quality. Each disc is weighed and examined to ensure it meets our standards.
Fun Fact: if a disc doesn’t meet our standards, it goes into a grinder along with the sprue and right back into the dryer (Step 3) to be recycled and used again.
And there it is!
It might seem incredibly simple or incredibly complex, but that step-by-step guide would have saved us a literal calendar year if we had it when we started.
So whether you just wanted to know more about how things are done or want to make discs yourself, we hope it helps you.
If you are, in fact, looking into making your own discs, we have a challenge for you: do things with the goal of growing the sport sustainably. Whether that means using recycled plastic, recycling your own regrind from failed discs into new ones, or even just using environmentally friendly shipping materials — a little effort goes a long way 🚀
In a sport that relies on plastic, we believe that the responsibility falls on all of us to lighten our impact.
If you want to follow along with our journey, you can check out our YouTube channel where you can also find a long-form video outlining the very process you just read about 👇


